
Some of the links in this post may be affiliate links.
In this post, you will learn how to make a simple, living DIY wreath with air plants and orchids. But the great part is that you can modify the design to suit your tastes! And since it is a living wreath, it will not only look good for the holiday, but it will be beautiful year-round!

I will also give you tips on how to care for your living wreath so you can keep it looking wonderful all the time.
DIY HOLIDAY WREATH WITH AIR PLANTS AND ORCHIDS
First, here are the materials that you will need. I’ll explain more about each item later.
- An 18-inch wire wreath frame made out of powder coated steel. The one I used is 2 inches wide and I purchased it at Michael’s craft store
- Sphagnum moss.
- Clear fishing line
- 26 gauge green floral wire
- An assortment of air plants (5-7, depending on the size) and some Spanish Moss
- 2 miniature Phalaenopsis orchids (optional, but beautiful!)
- A pair of pruners
1. LAY OUT THE PLANTS TO GET AN IDEA OF THE DESIGN
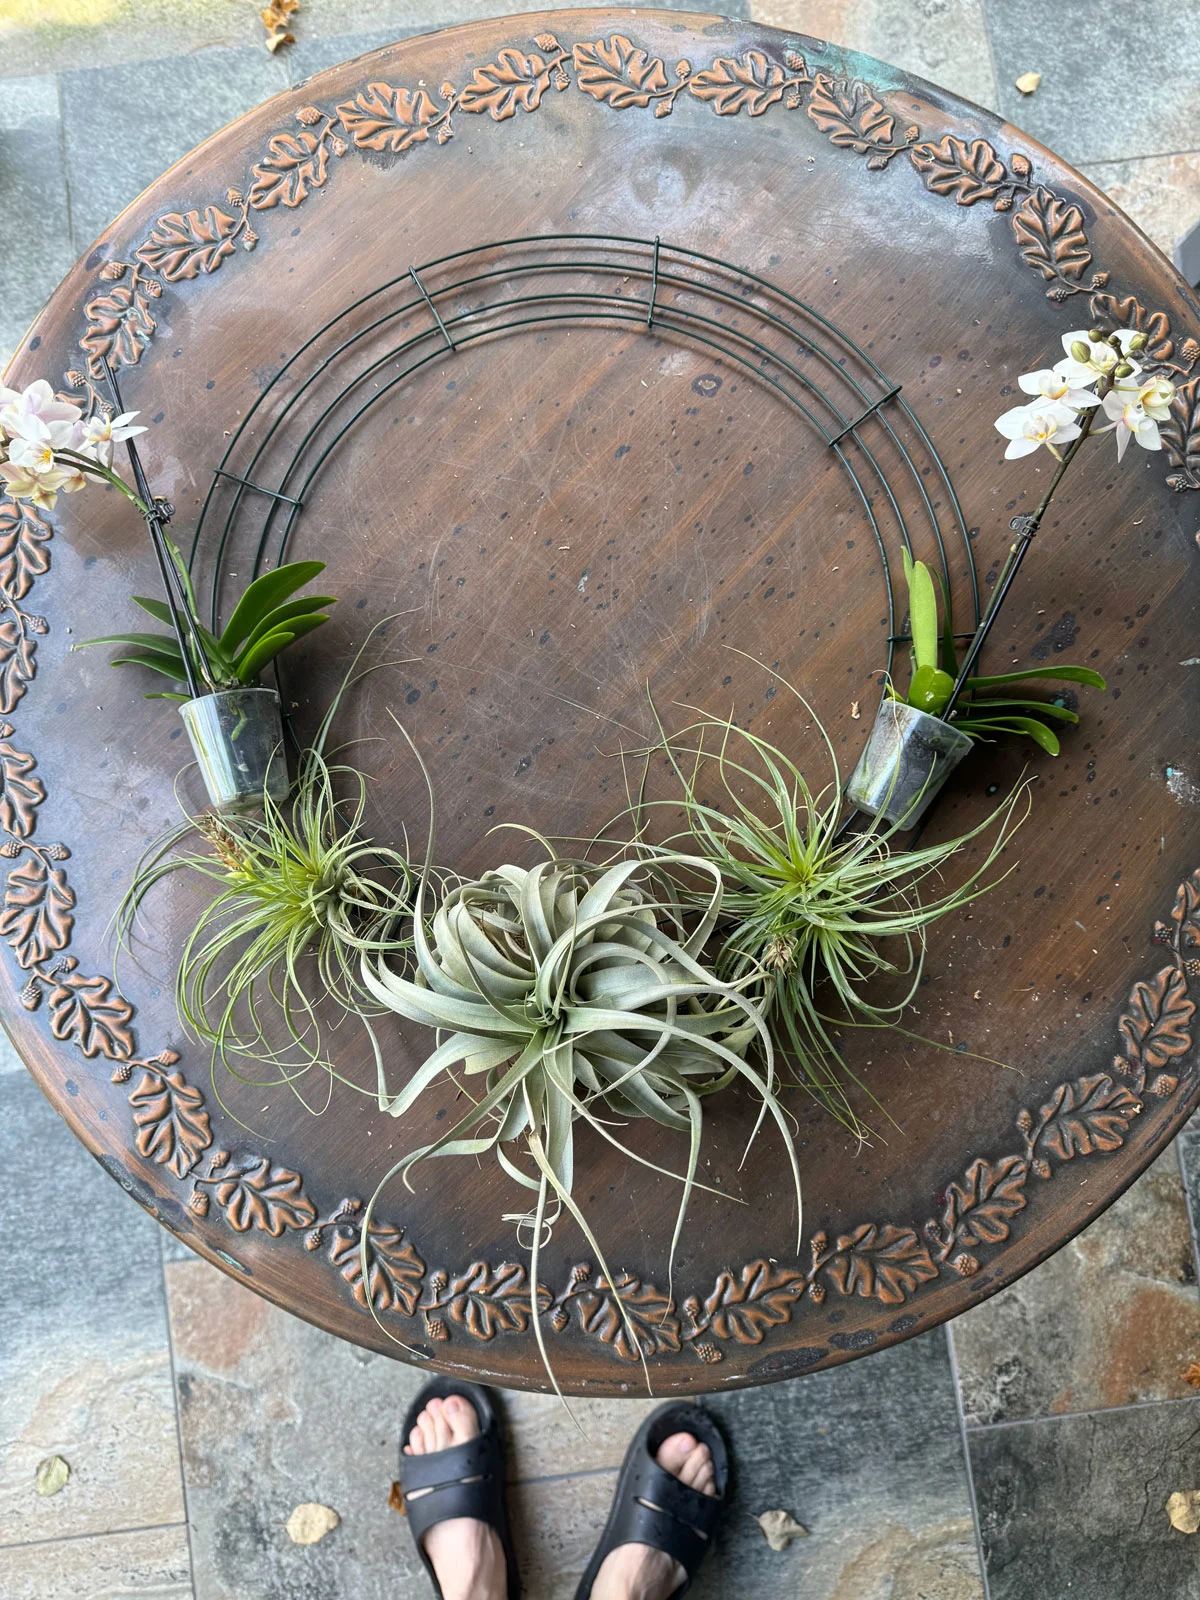
First, before you do any work, you’ll want to obtain all your materials and lay out your plants onto the wreath until you’re happy with your design. I went with a pretty symmetrical design, but you can do whatever suits your taste!
Simply lay the wreath frame on a flat surface and arrange the plants until you’re happy with the design. I ended up adding more plants in the upper part of the wreath shown below, so this was just a starting point. Take a photo so you can refer back to your design as you’re working.
2. COAT THE FRAME WITH SPHAGNUM MOSS
Next, you’re going to coat the wire with sphagnum moss and use the floral wire to wrap the moss so that it is secure. I used a leftover sphagnum moss package that I had handy, but my favorite moss for plants and project is Better Gro Orchid Moss. The longer fibers are well suited for this project, and it is also my moss of choice to grow certain plants in.
Start by putting your sphagnum moss in a bucket of water and soaking it for 5 minutes. This will hydrate the moss and make it easier to work with. Wring out excess water and start placing it on the wire frame.
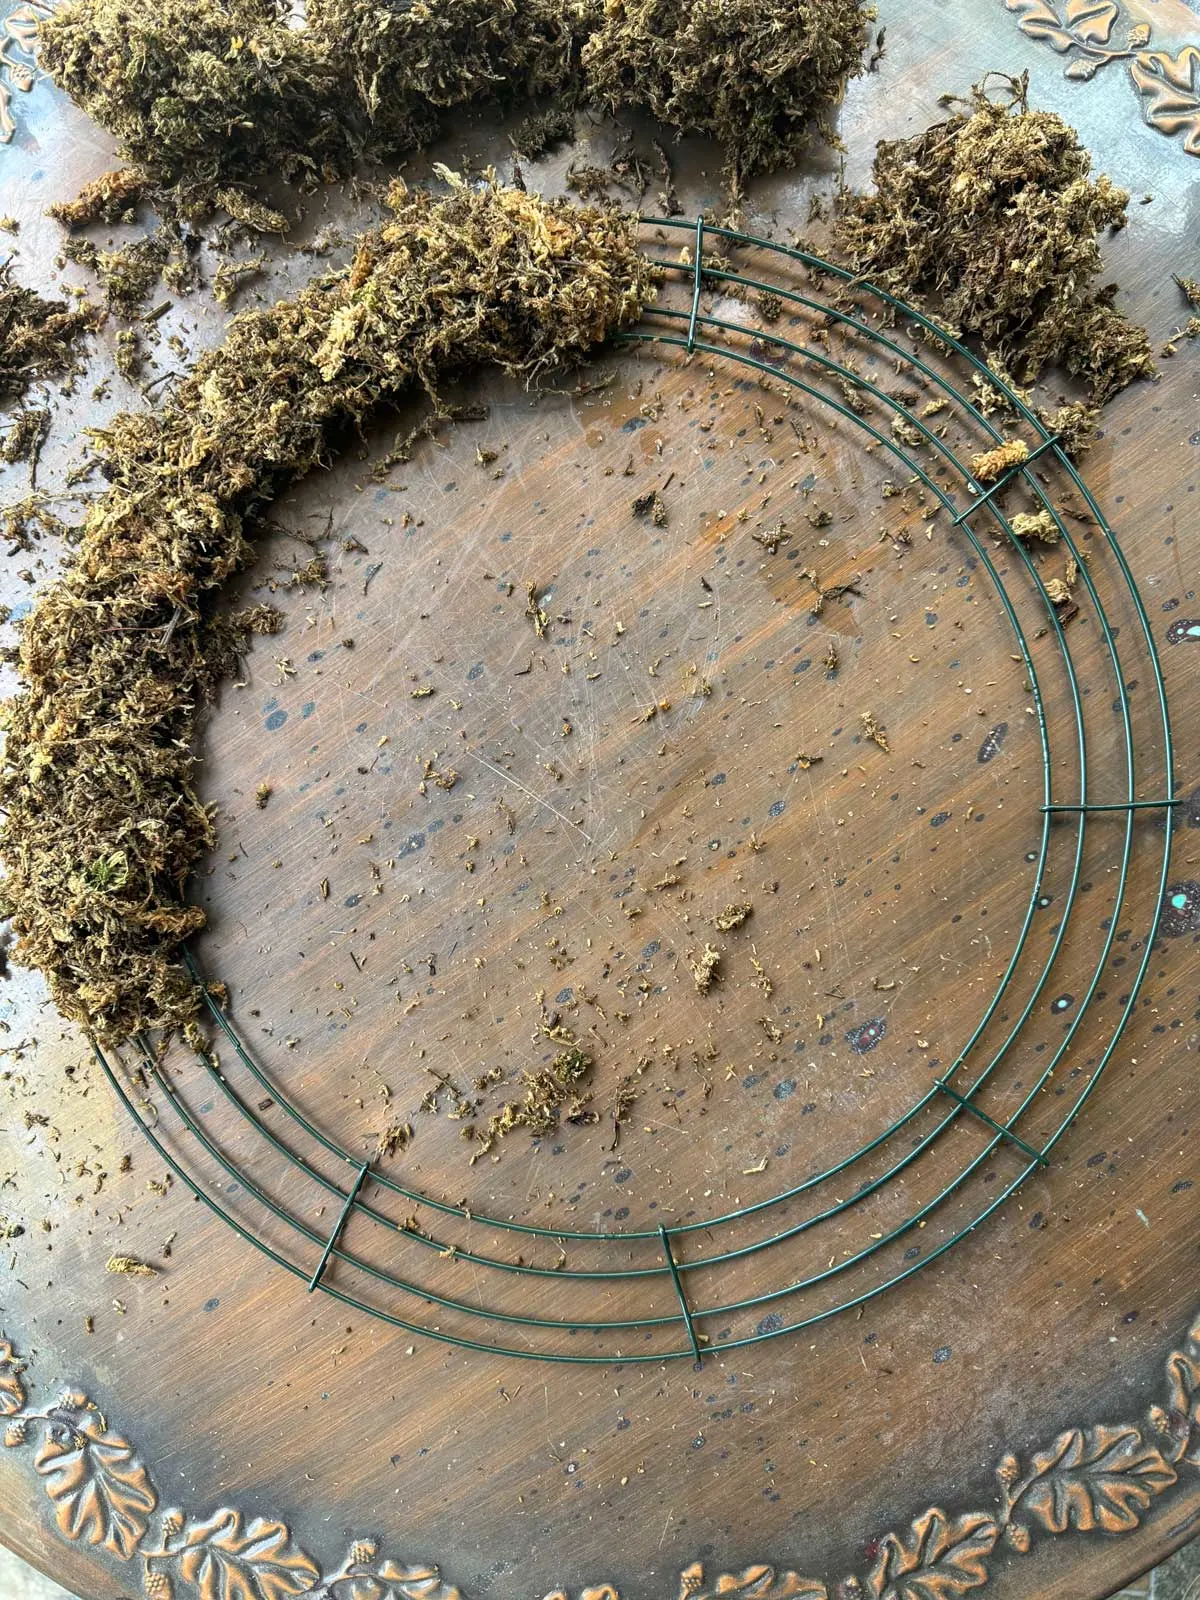
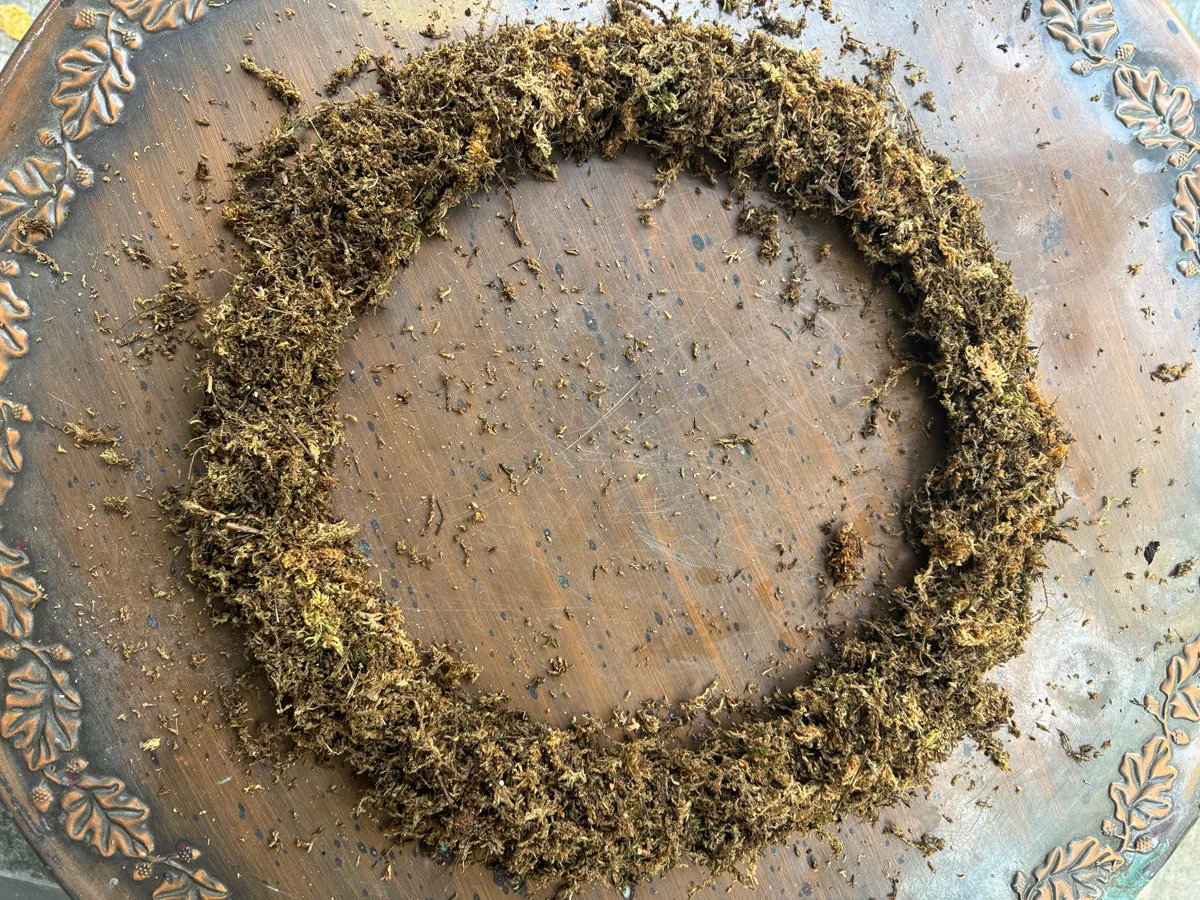
Continue all around the frame until the entire frame is covered.
Next, find two items of equal height to rest the frame on so that it will make it easier for you to wrap the floral wire around wreath. I used two small urns as you can see in the photo below. You can use whatever you have handy. Two small planters or pots will work great.
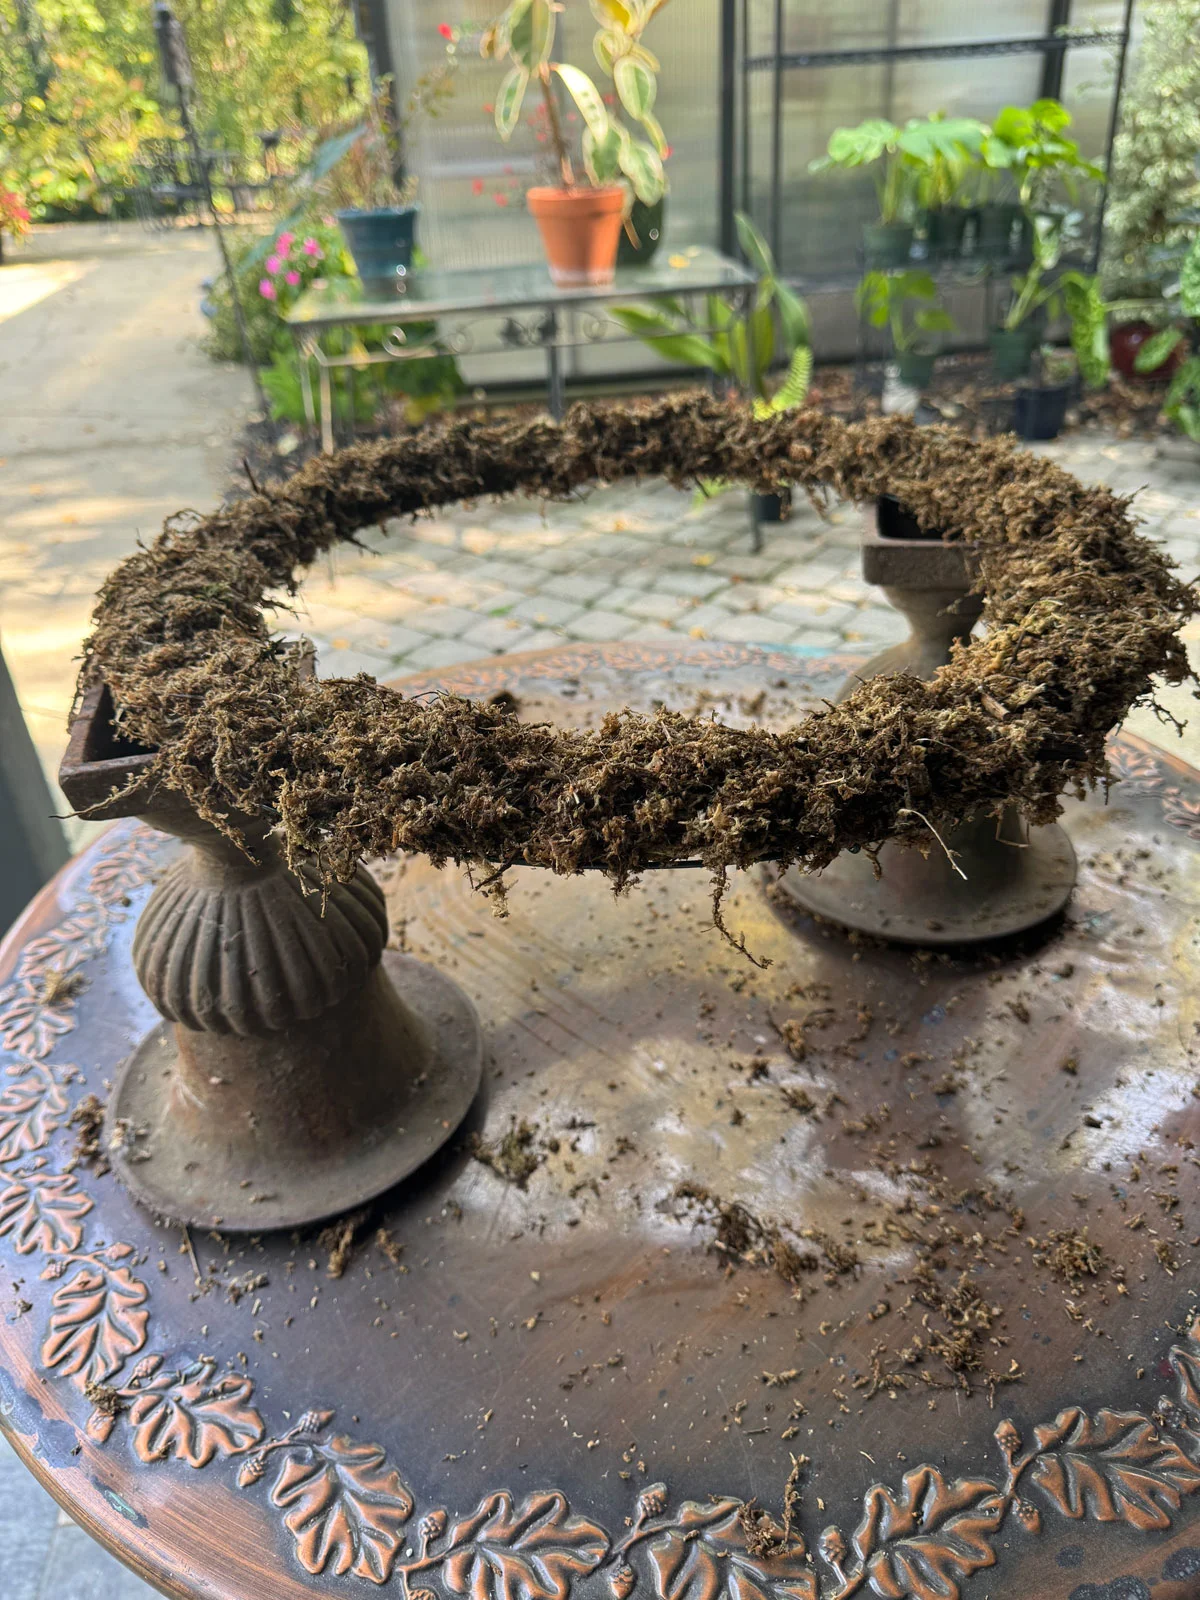
Next, you’re going to use the 26 gauge green floral wire to secure the moss. It is strong, yet thin, and is easy to work with. By the time you are done, you will barely see the wire, if at all.
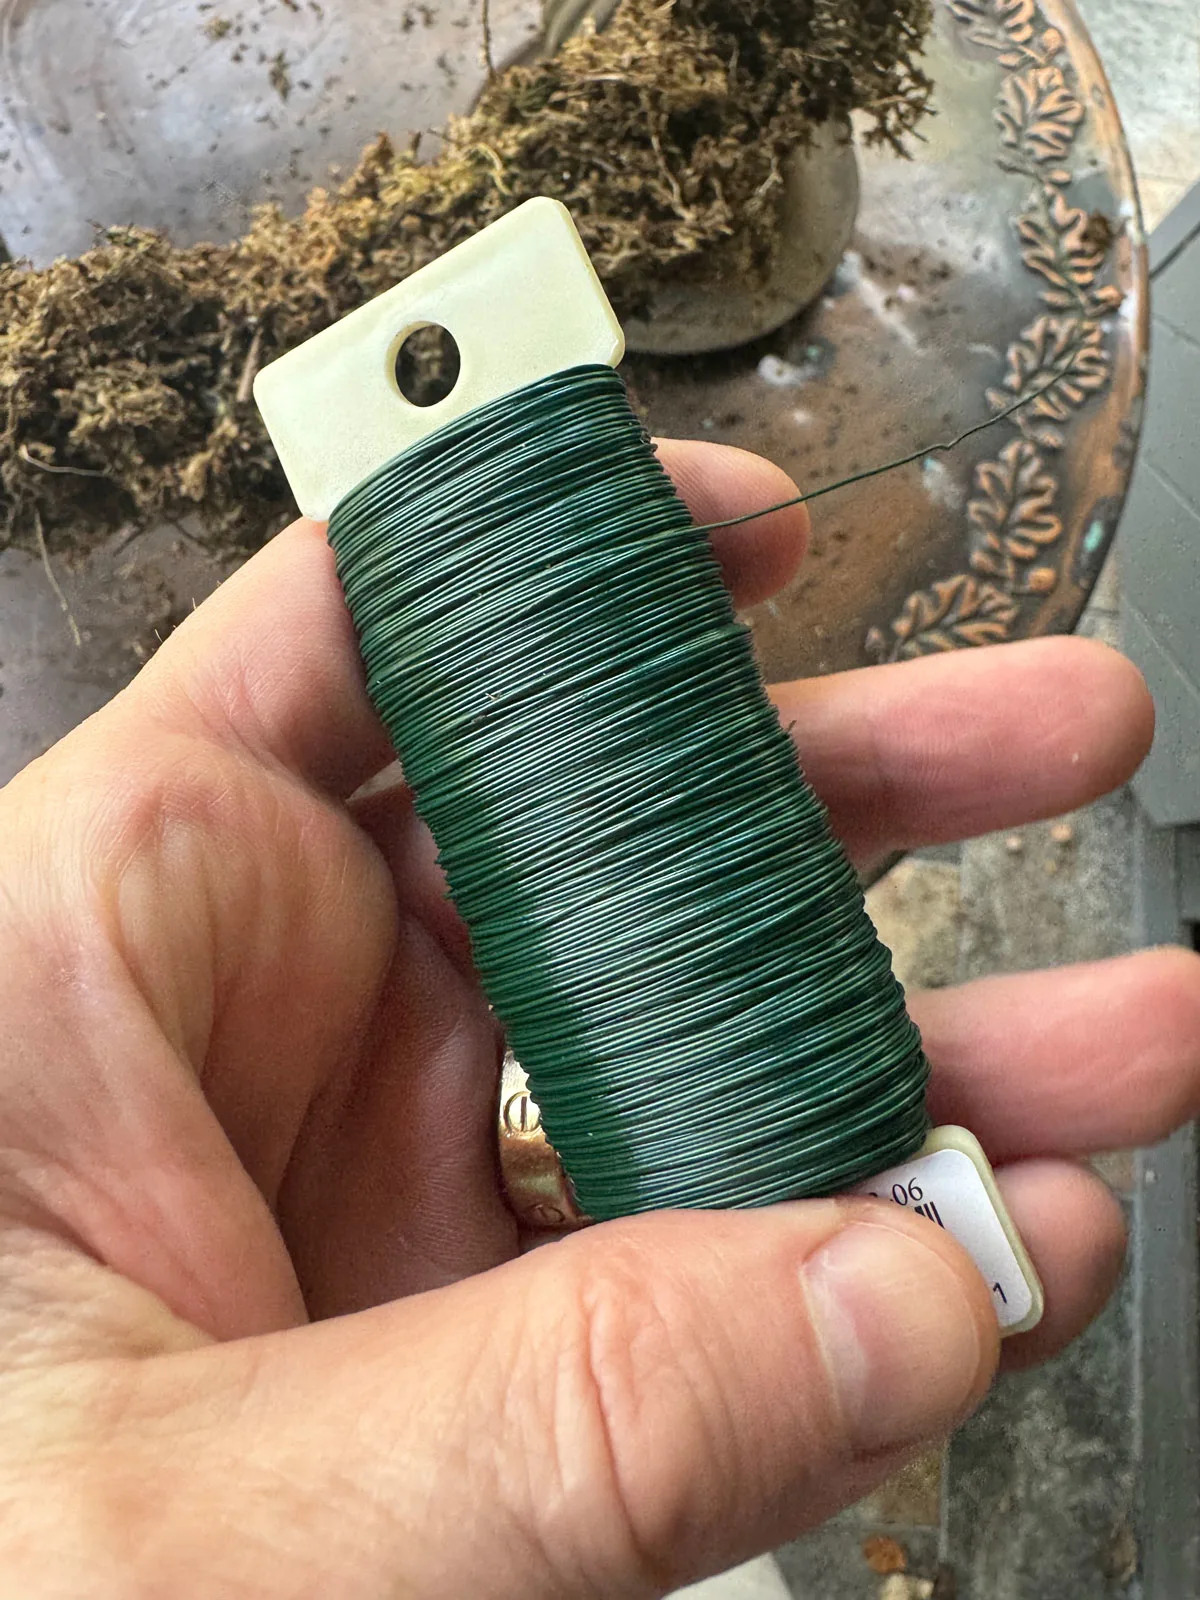
Start by wrapping the end of the floral wire a few times around the outermost wire on the wreath, in order to secure the floral wire. Then, continue wrapping across the moss, looping around and you’ll want to have the loops about 1/2 inch to 3/4 inches apart from each other in order to hold the moss in well, like you see in the photo below.
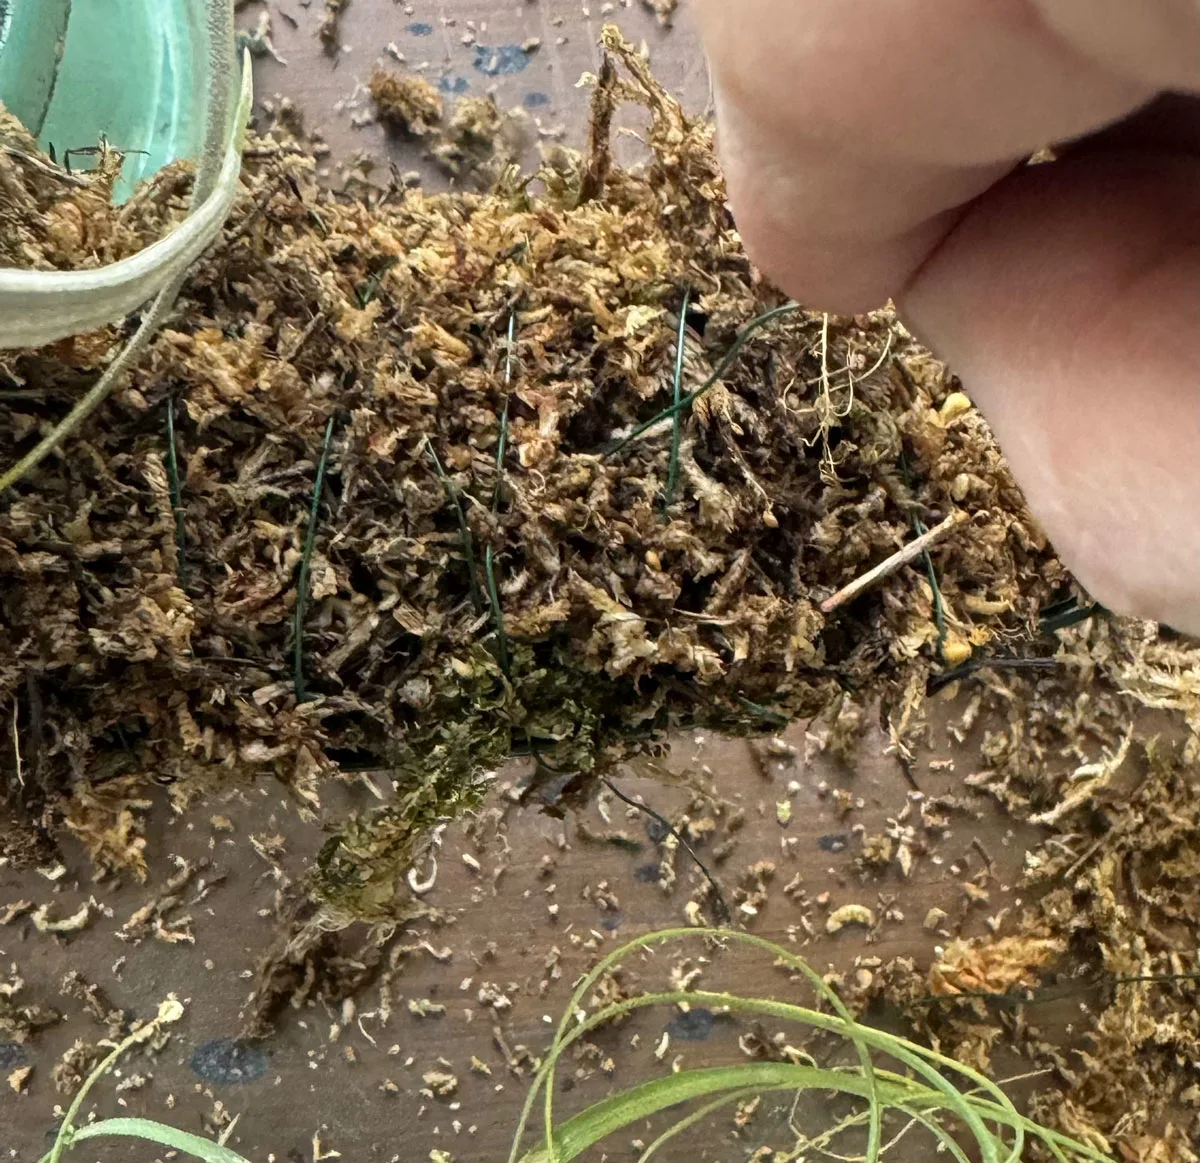
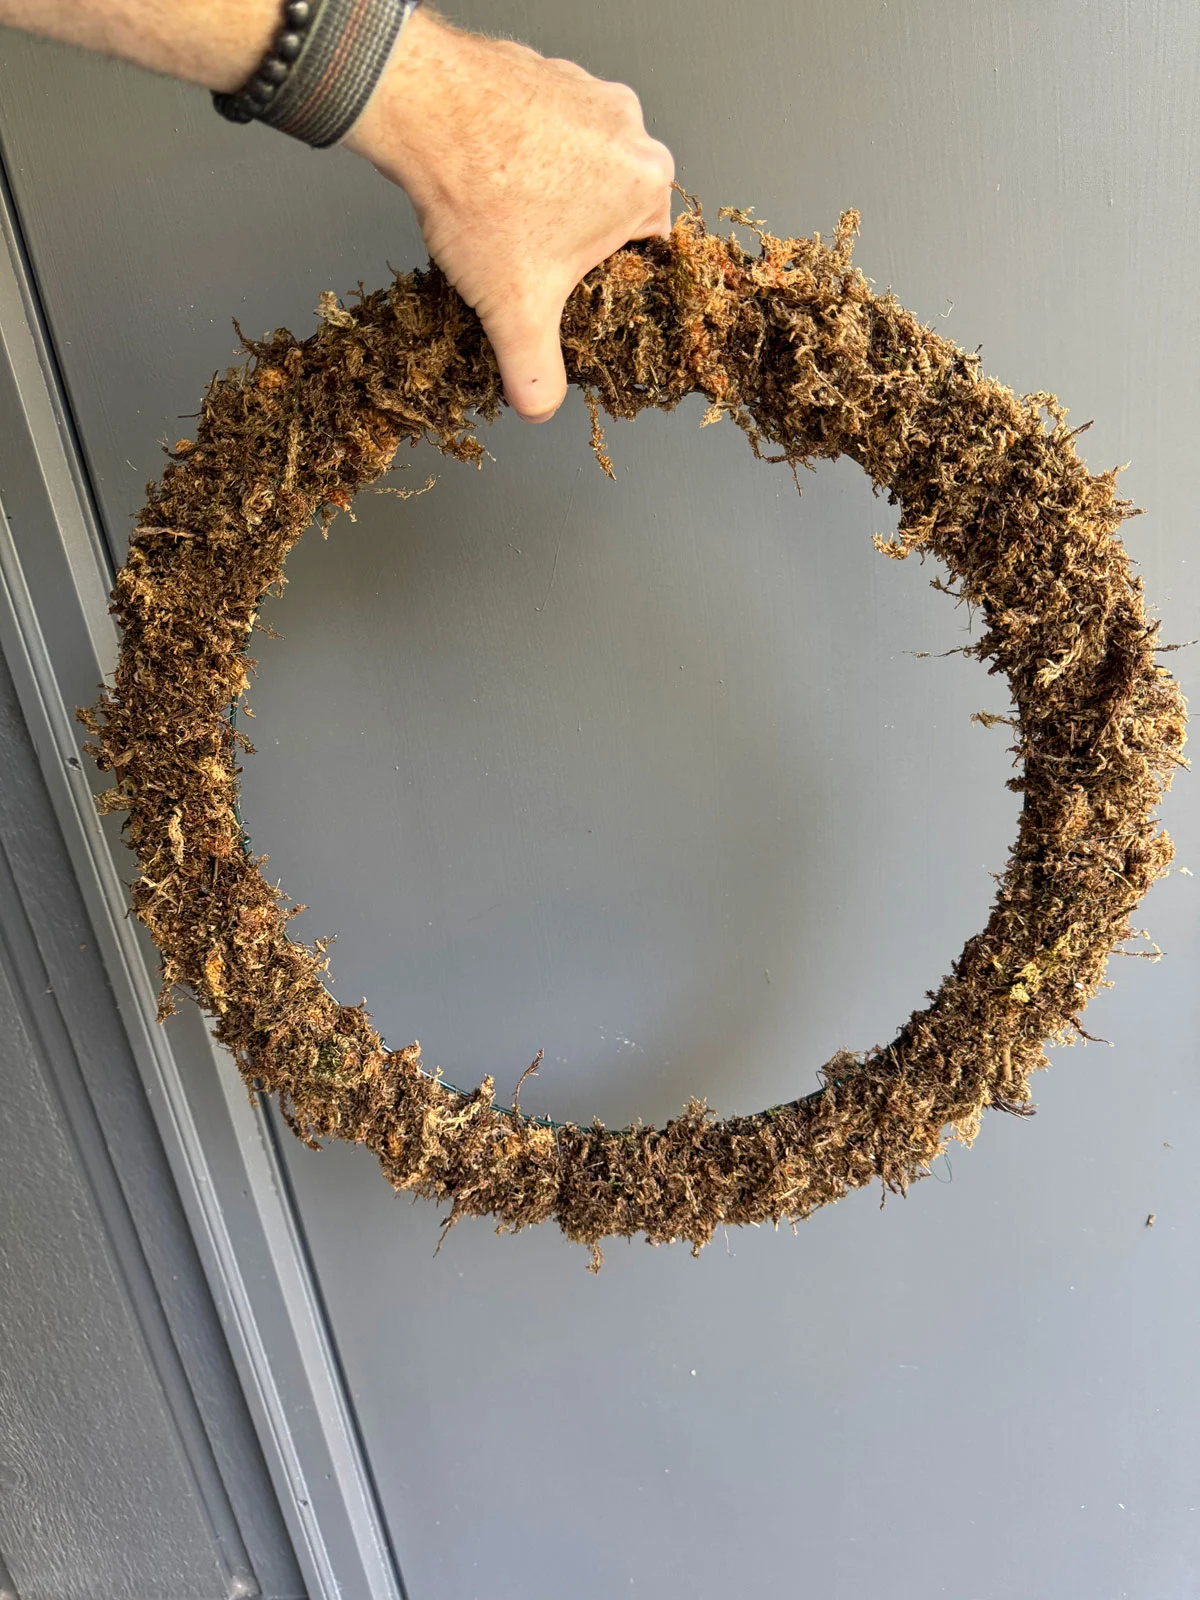
Once you have wrapped the entire circular frame with the floral wire, cut the floral wire off the spool and wrap the loose end of the floral wire a few times on the outer wreath wire to secure it. The moss should be firmly in place now.
3. MOUNT THE PLANTS ONTO THE FRAME
Next, you’re going to prepare your air plants to mount onto the wreath. You can use any air plants that you’d like. If you need some ideas, check out my post that has good air plants for beginners.
For this wreath, I used one Tillandsia xerographica (the big air plant at the bottom of the wreath), some Tillandsia tectorum plants, and two unnamed ones that I purchased locally. Gray air plants are much more drought tolerant than the green ones, but you can definitely use whichever you like. You just have to be attentive to watering. I will have information near the end of this post on care tips.
Take the floral wire and carefully insert it through the foliage at the bottom of the air plant, and start to tie a knot to secure (don’t make it too tight…just enough so that it is secure). The 26 gauge floral wire is easy to work with, even for tying knots. When you feed the floral wire through, leave about 3 inches or so at the short end. You’ll want the long end to be maybe 1.5 feet or so. You can experiment and see what you like.
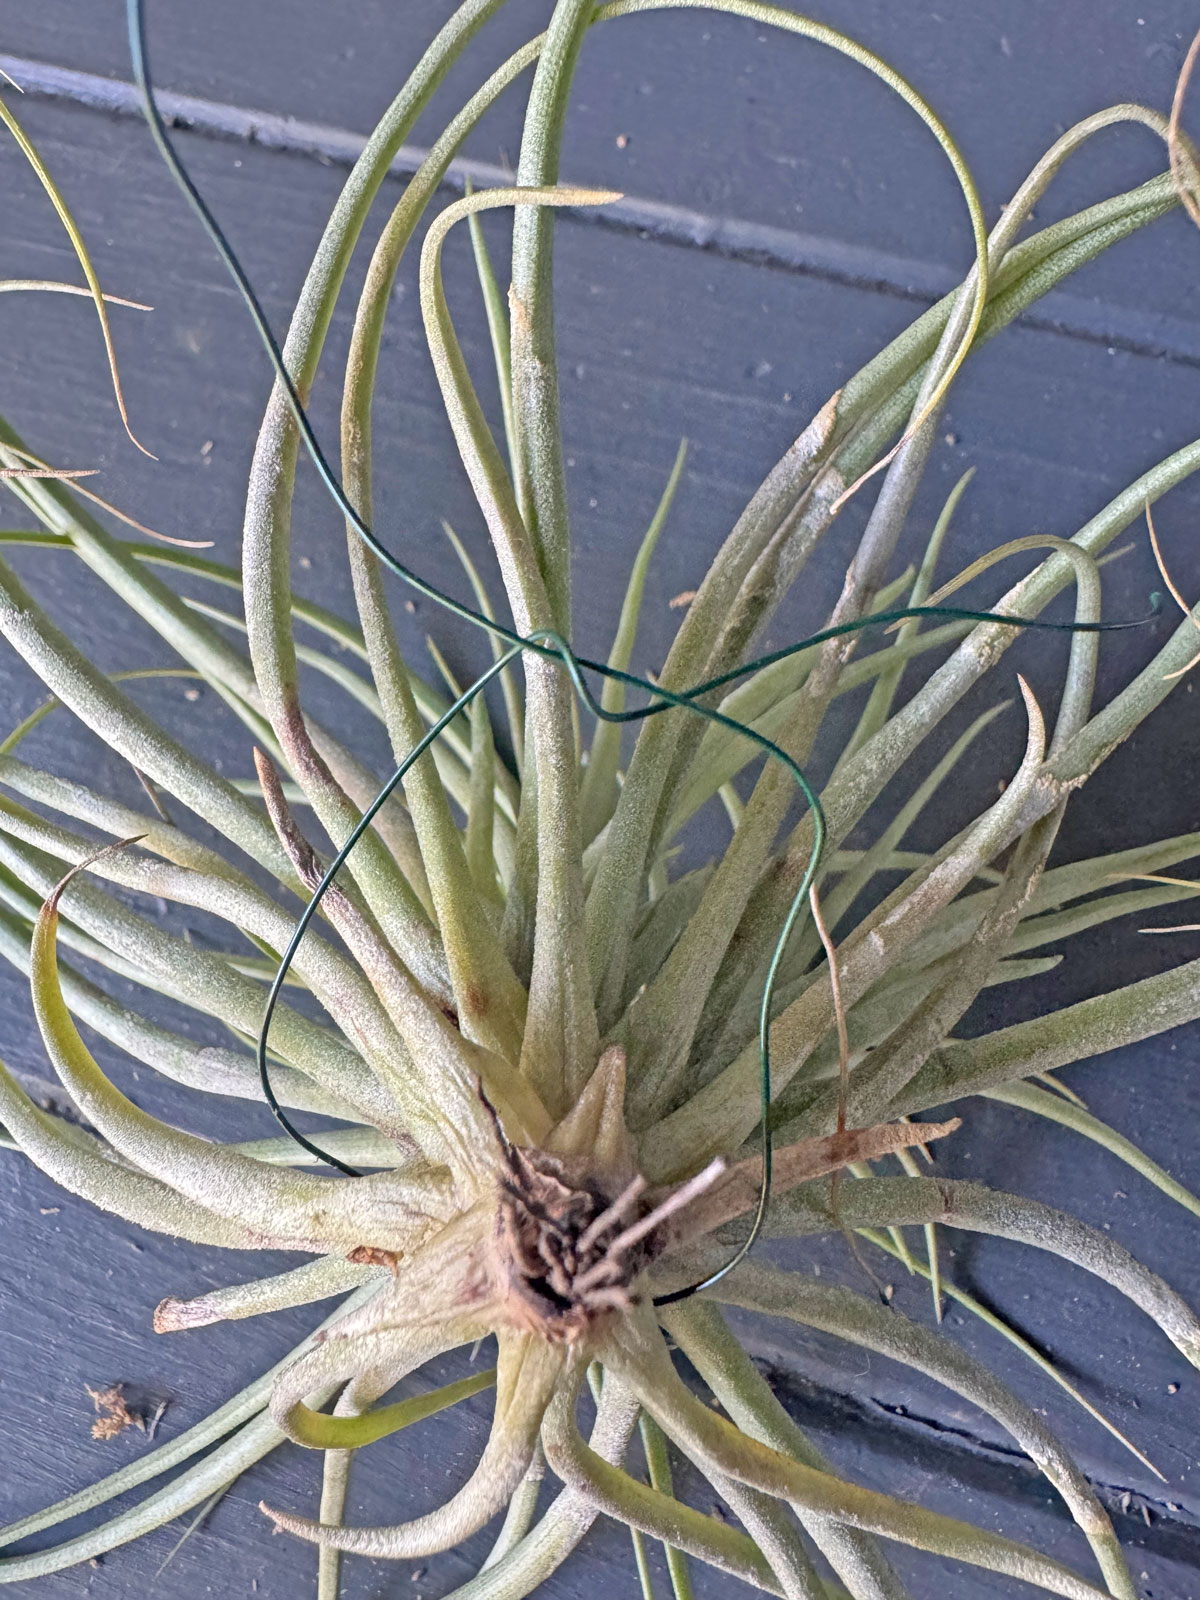
Then tie the knot and wrap the short end around the other end of the floral wire like in the photo below.
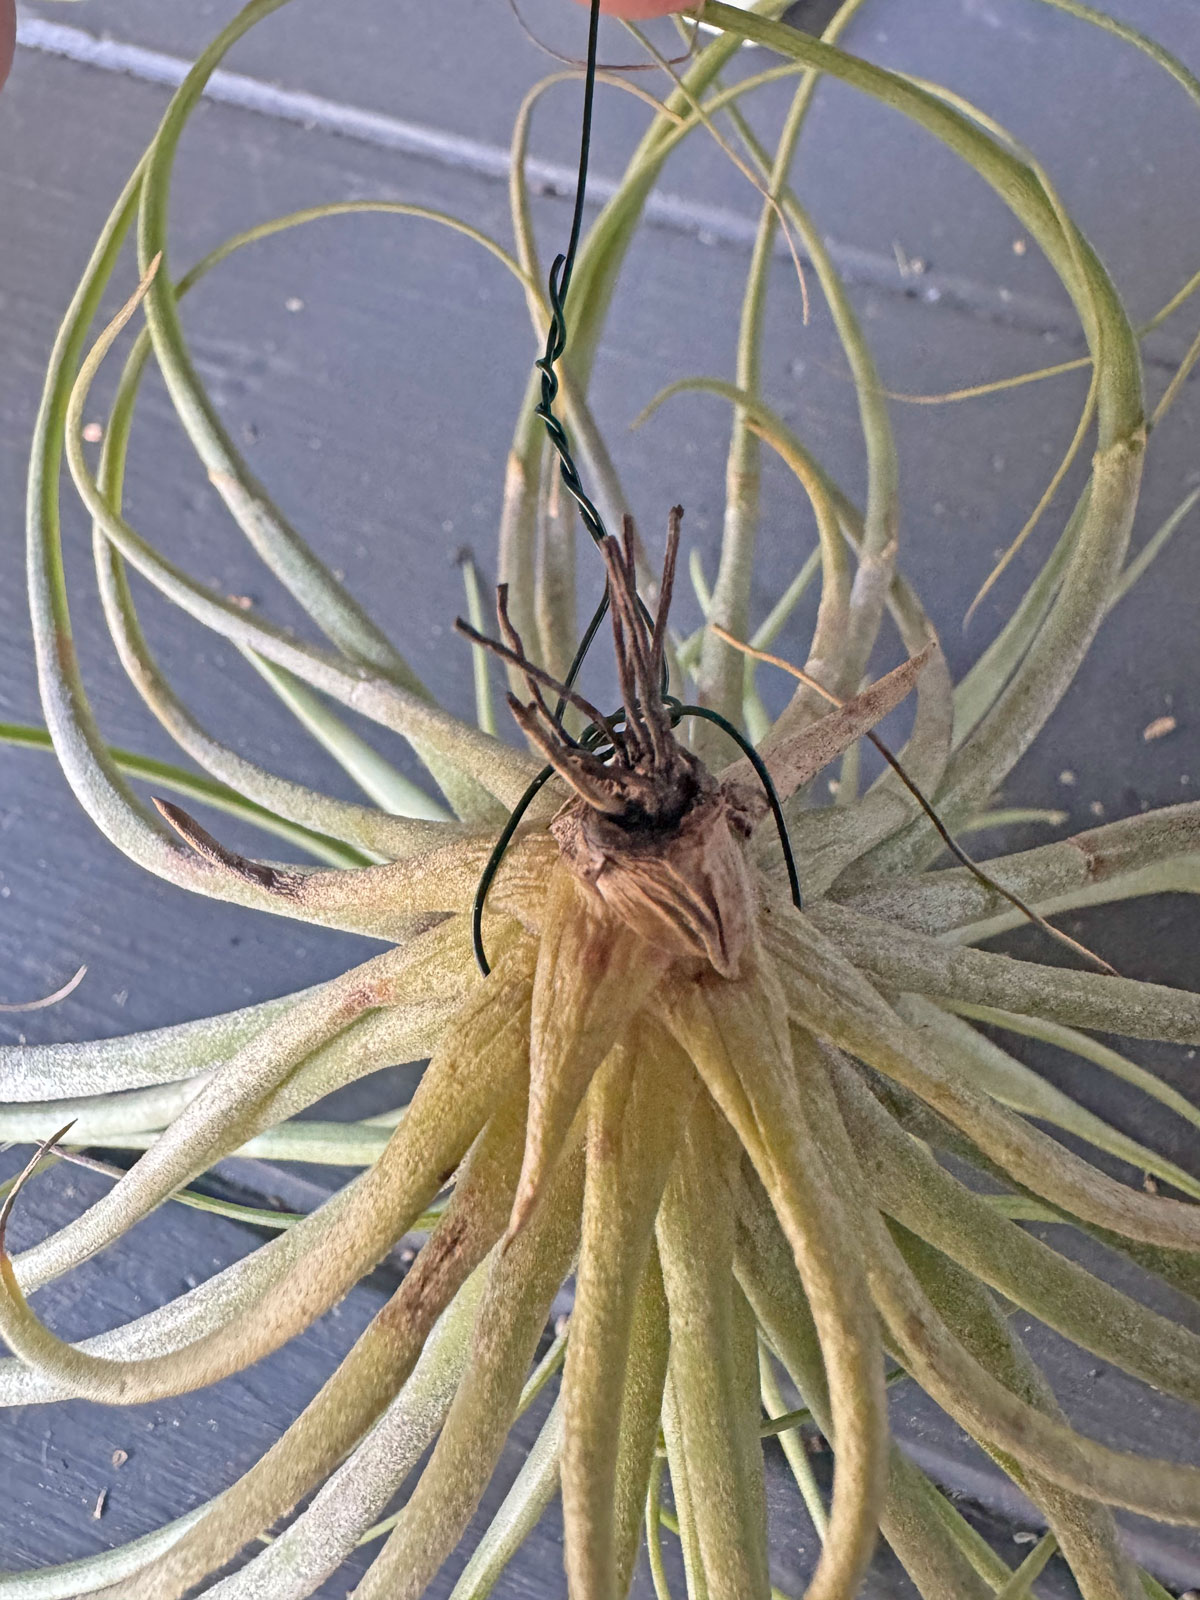
Then, you’ll take the long end of the floral wire and poke it through the wreath, wherever you want to place your air plant, and pull it securely. Then wrap the long end around the wreath, alternating on either side of the air plant, and once you’re close to the end, wrap the floral wire around the outer wire circle of the frame to secure. You can see I mounted 3 air plants like this below.
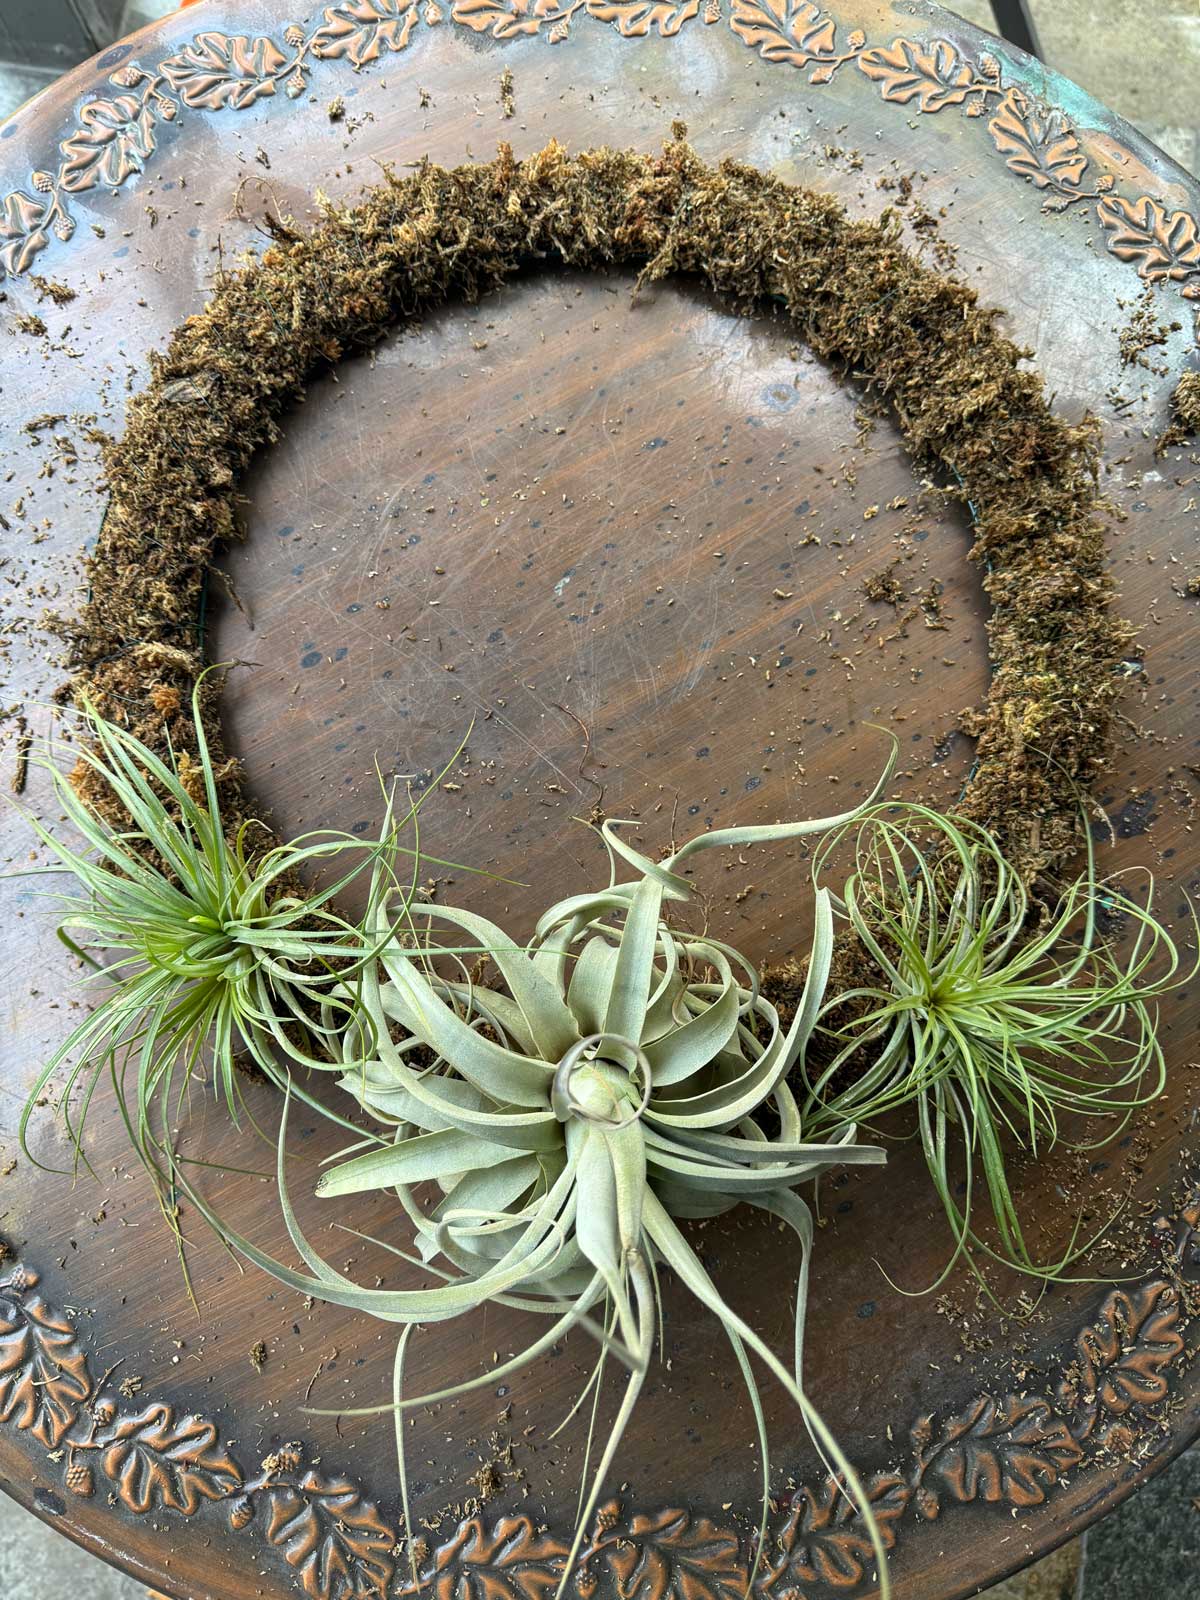
Next, I’m going to mount two miniature Phalaenopsis orchids like you see below. Start by removing the orchid from the pot.
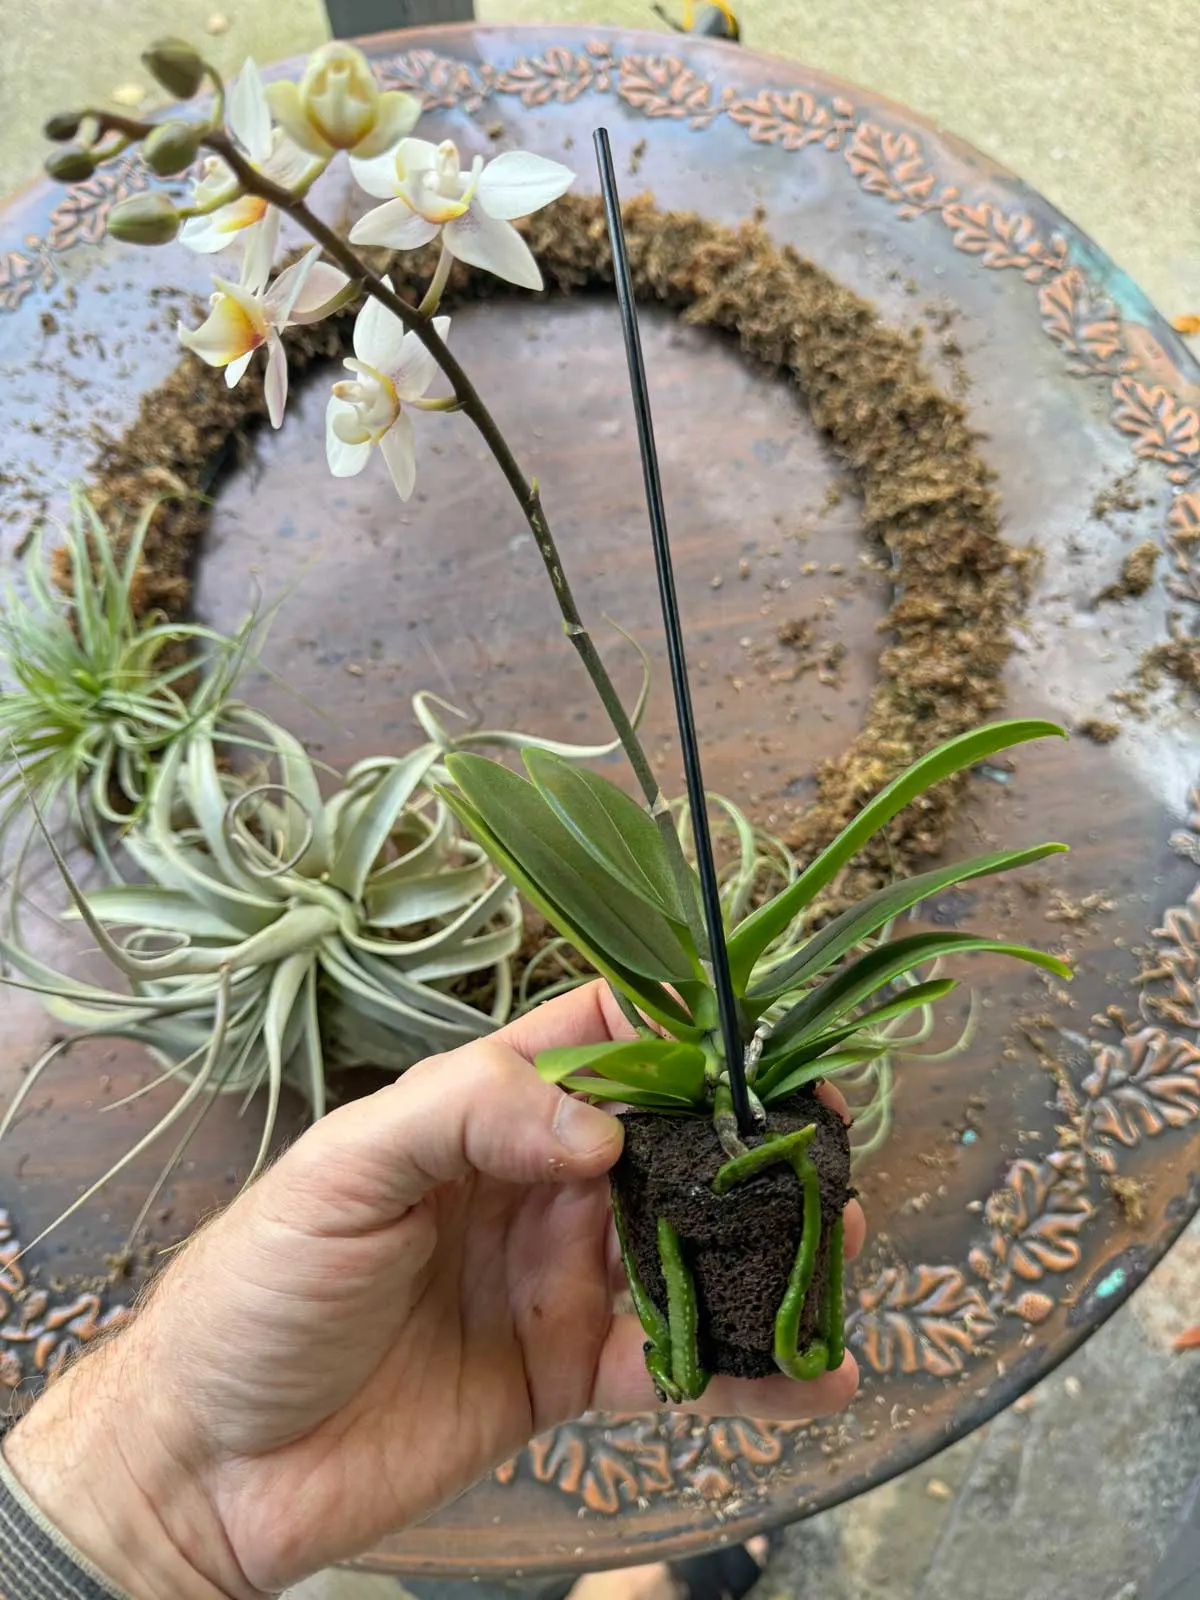
Next, remove the potting medium of the orchid, being careful not to damage the roots. Place the orchid where you want it onto the wreath.
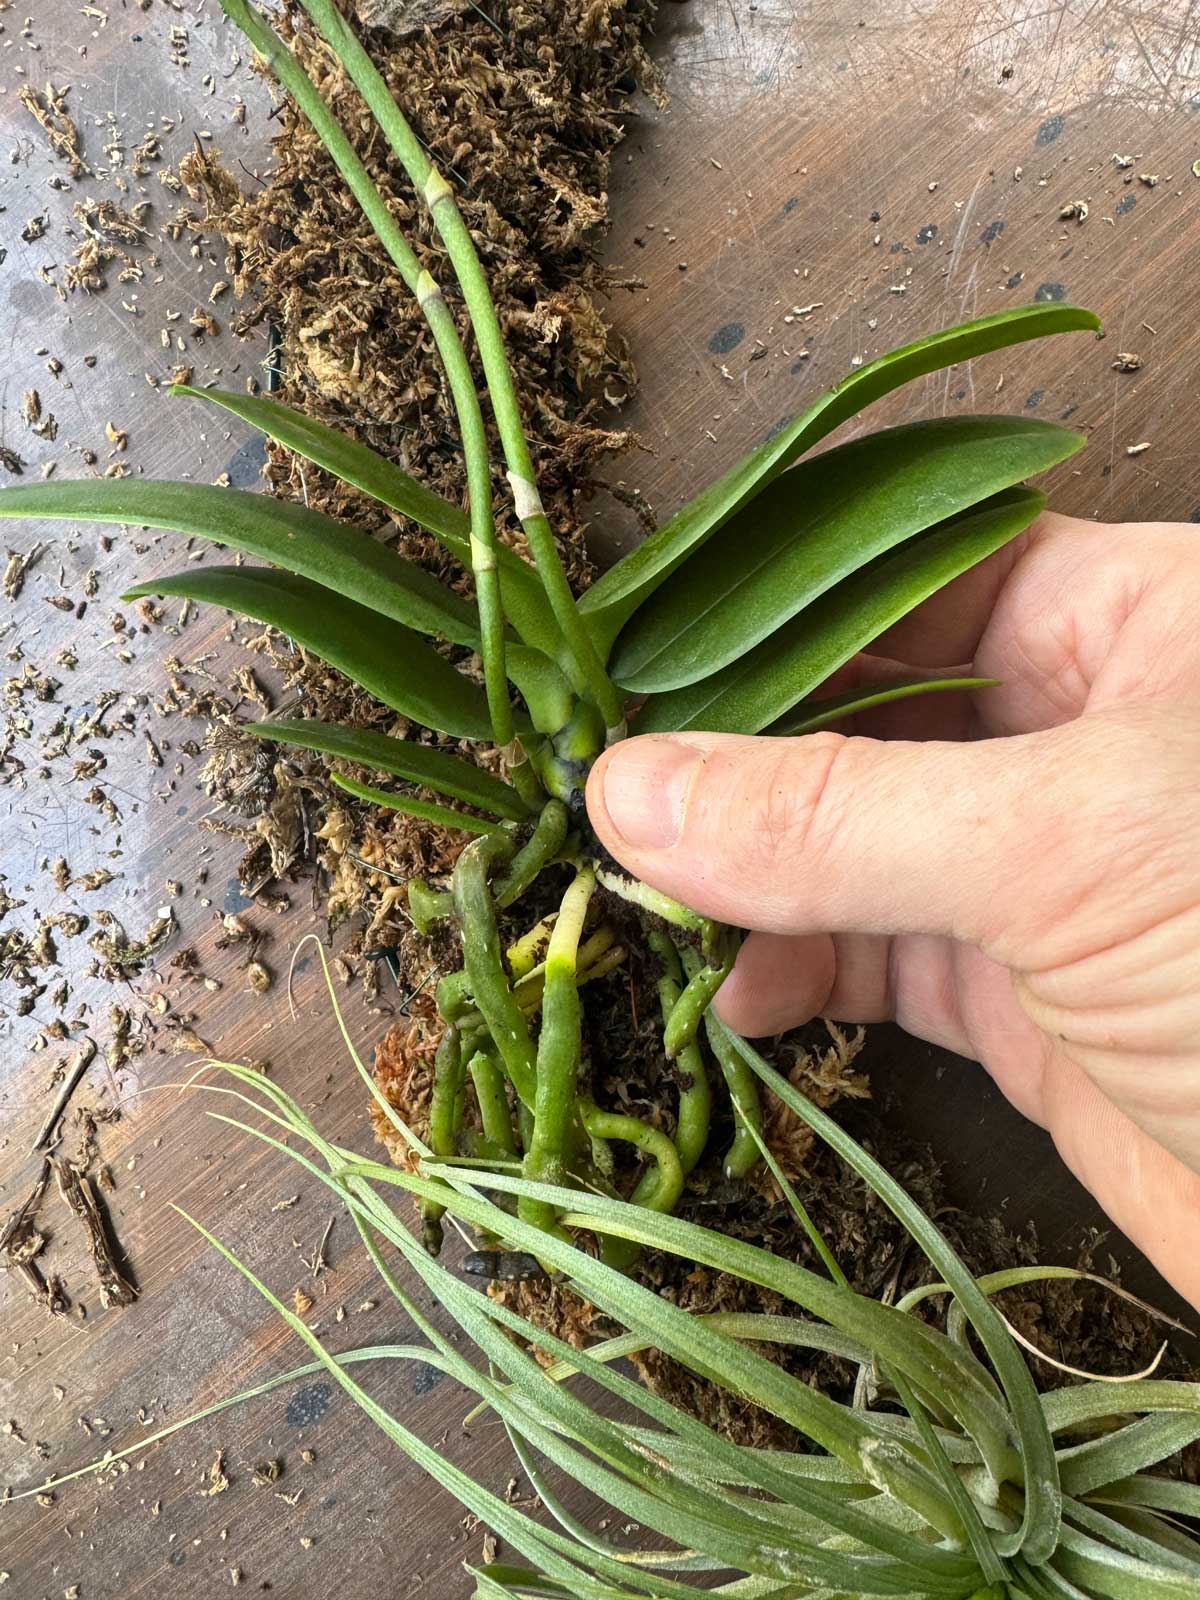
Then take some moist sphagnum moss and gently place it over the roots of the orchid.
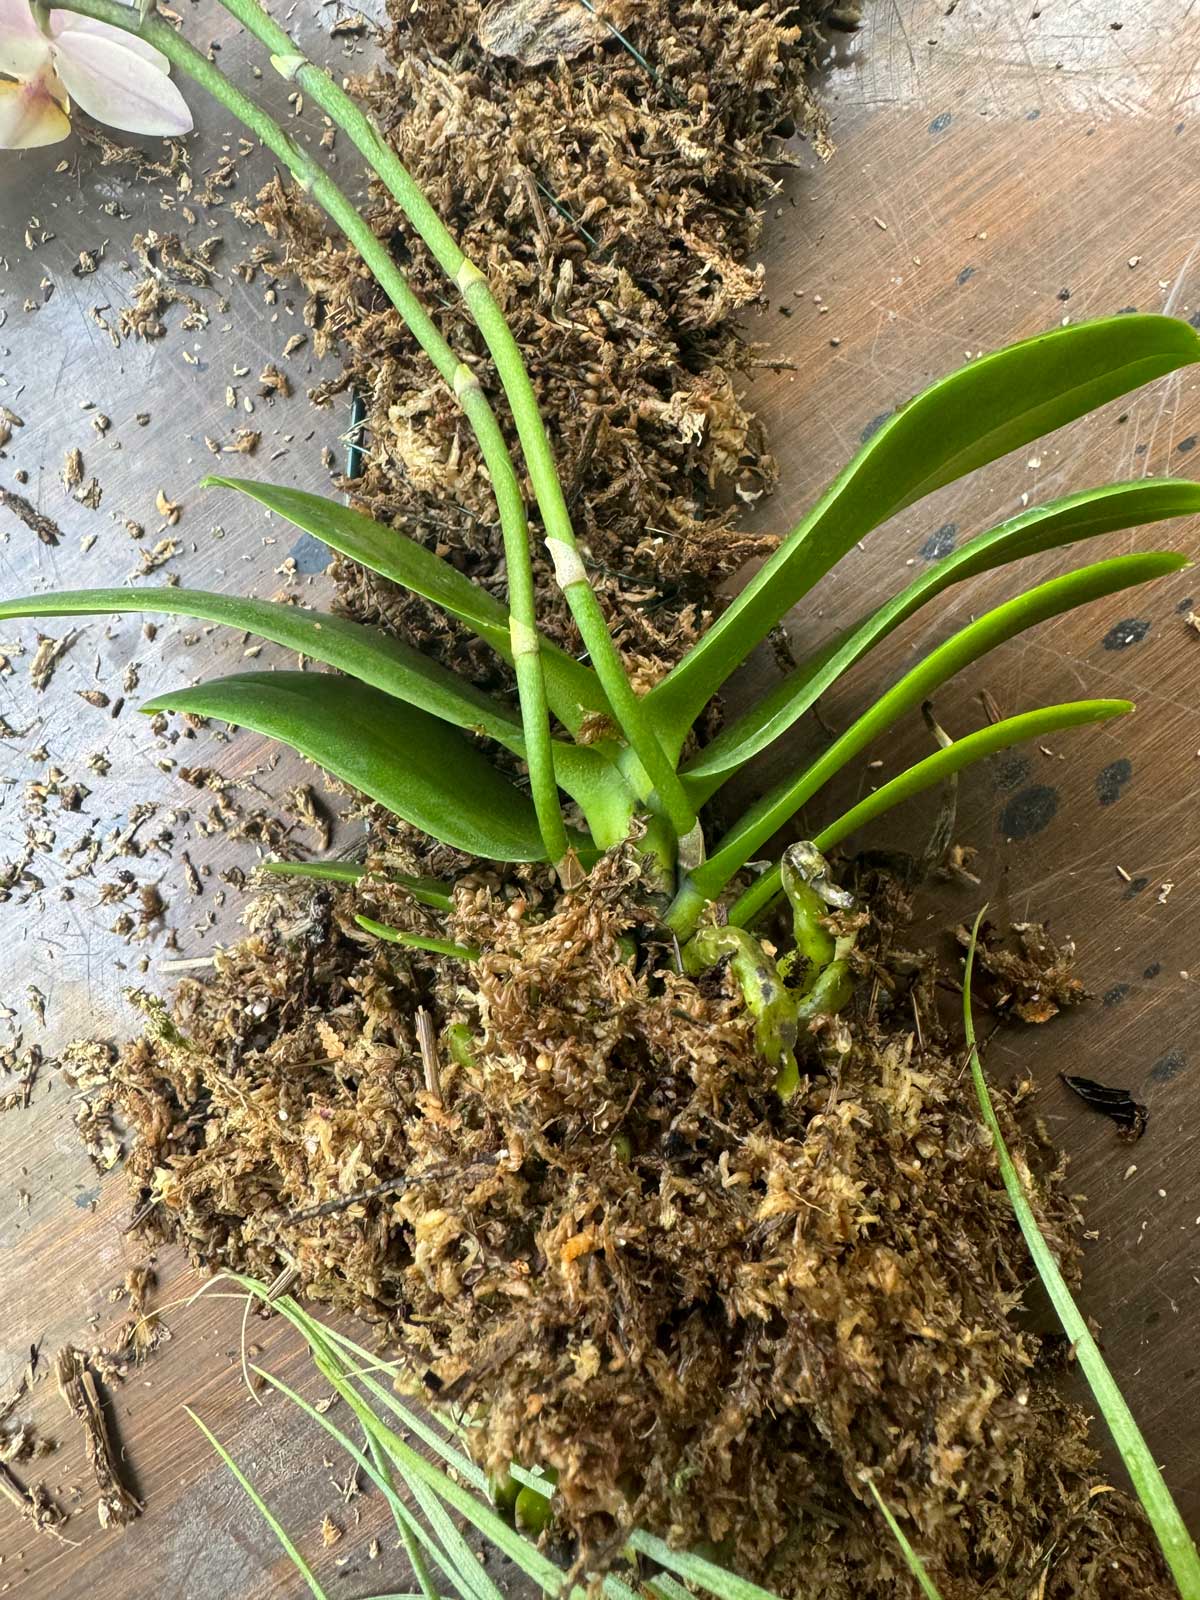
And cut some floral wire and wrap it around the roots of the orchid a few times and secure the loose ends of the floral wire to the frame of the wreath just like you did with the air plants. I mounted two miniature moth orchids below, and I elevated the top end of the wreath to make it easier to wrap the floral wire.
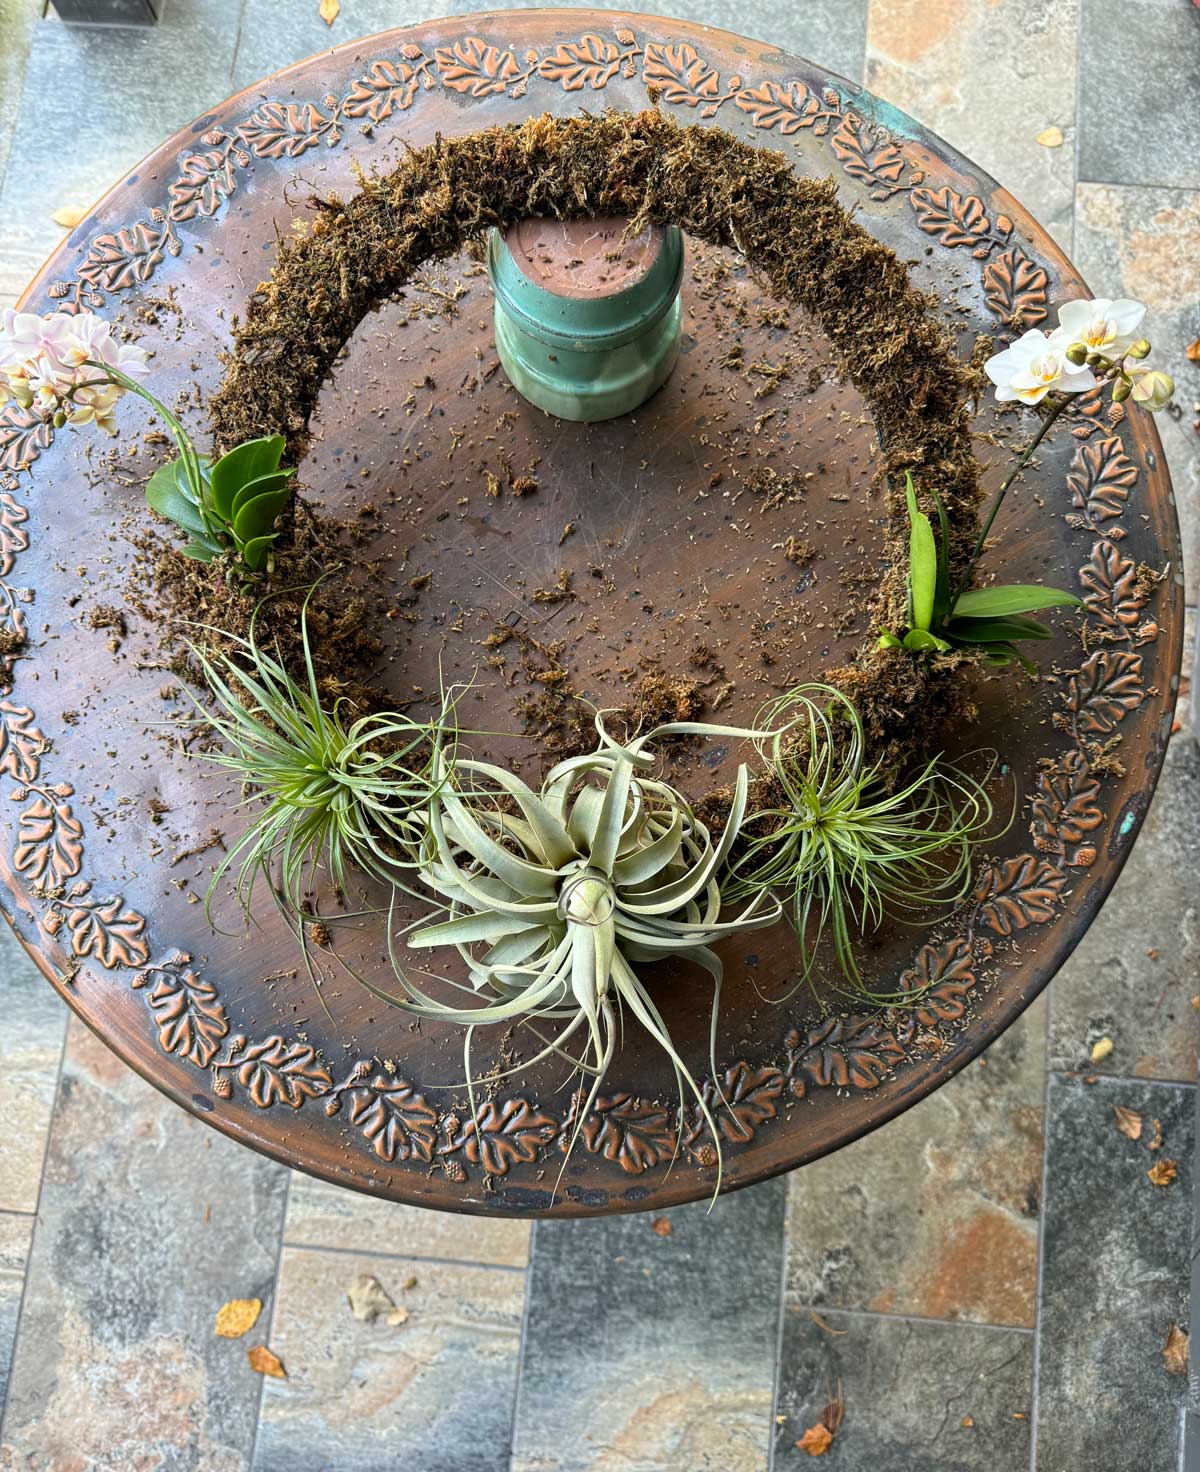
I mounted 4 more Tillandsia tectorum, two above each of the mini moth orchids.
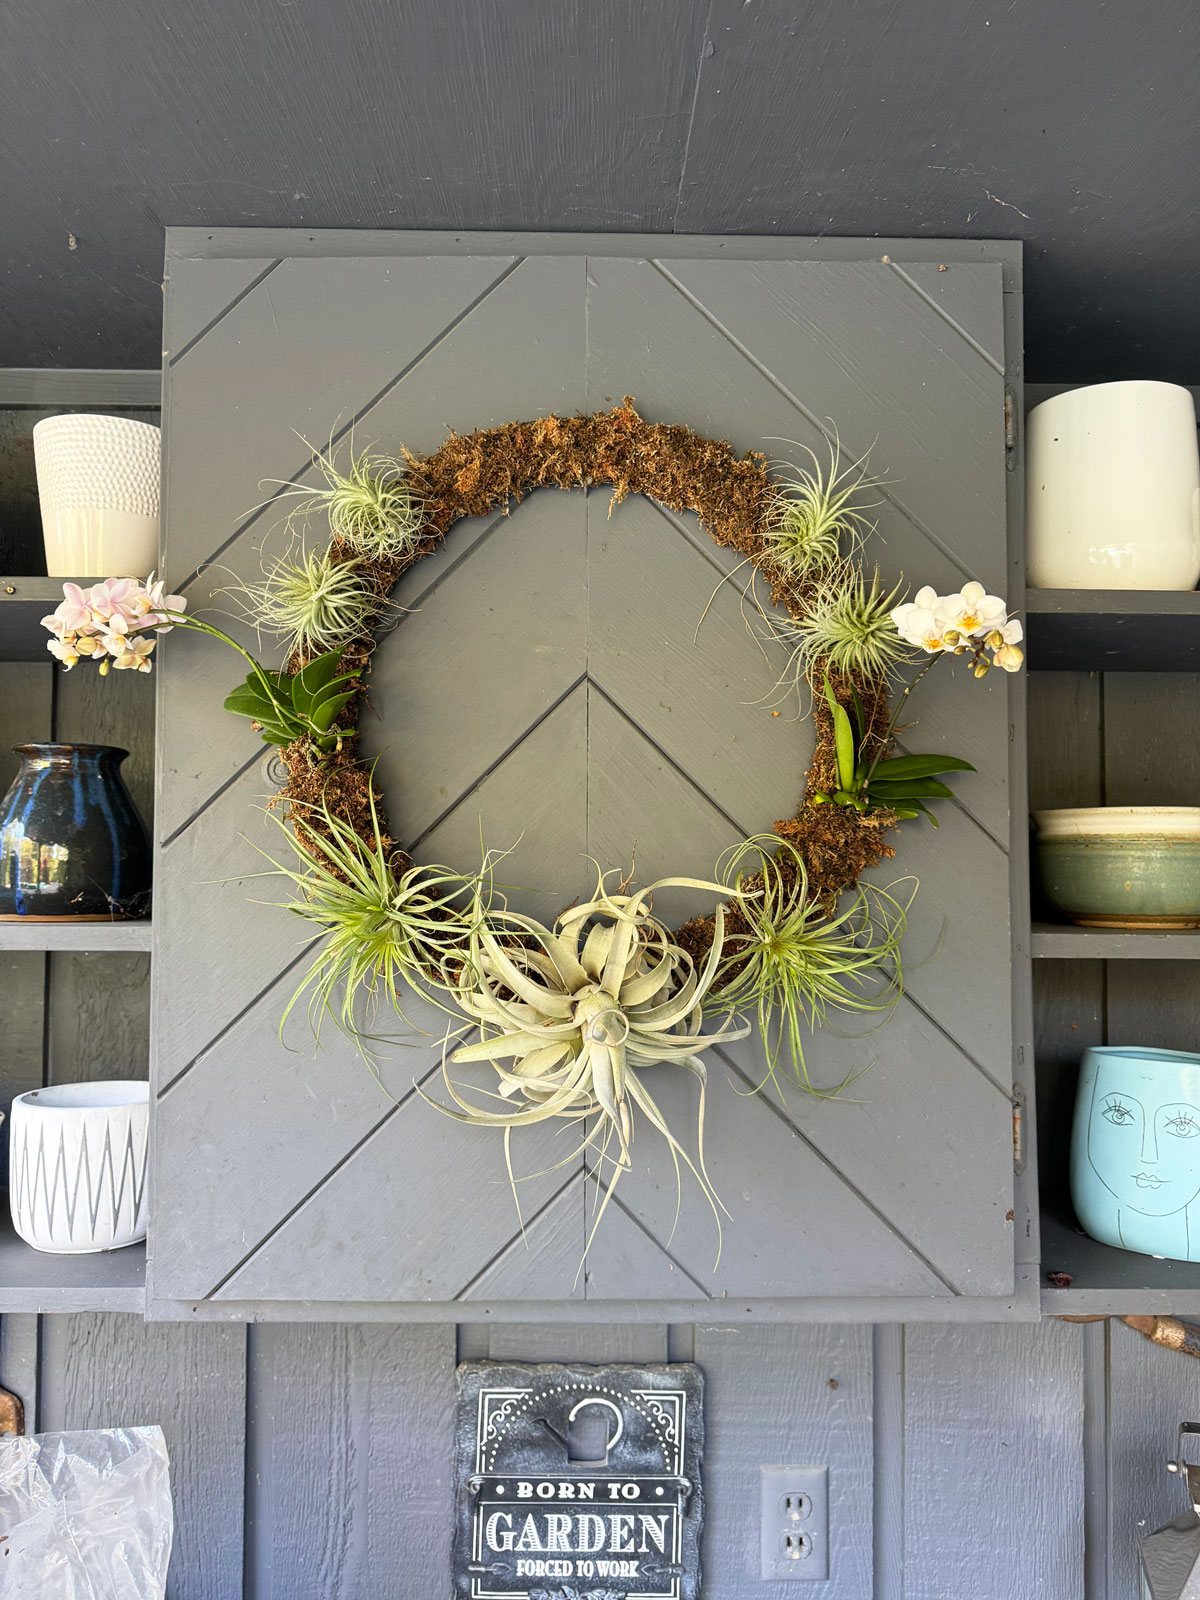
Here is another view of the wreath.
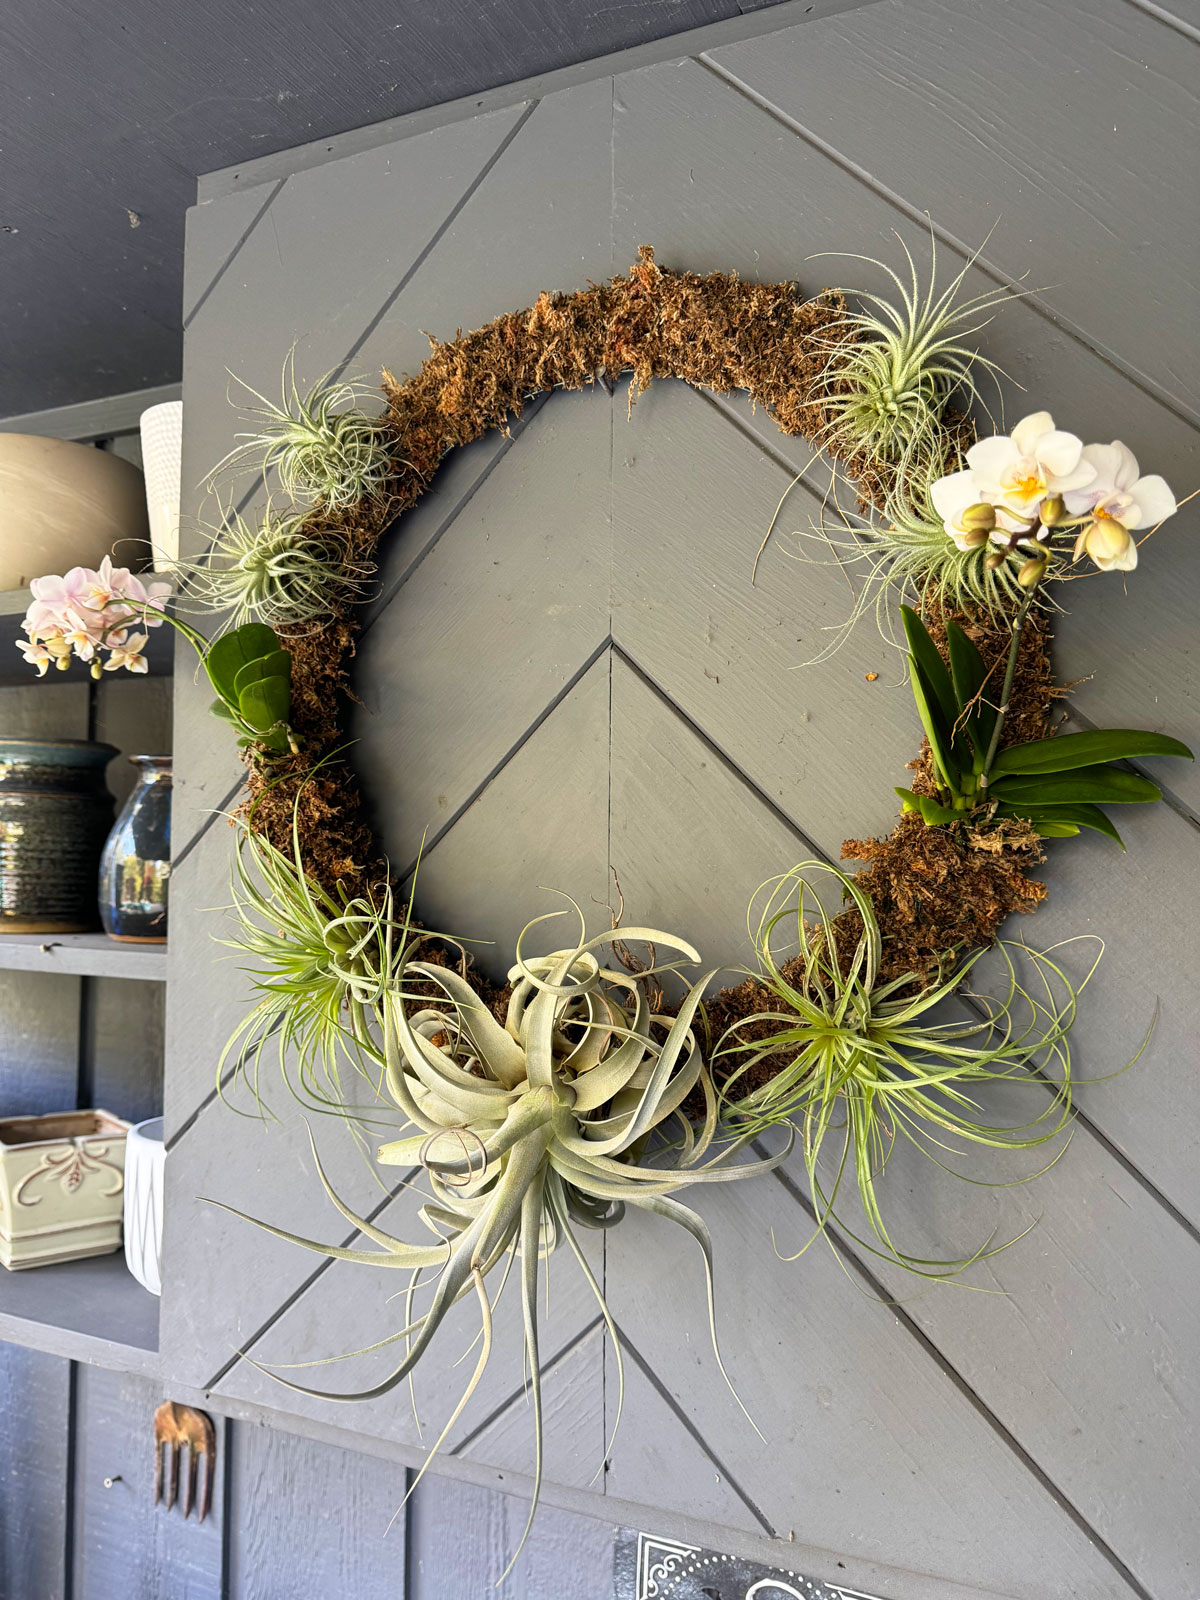
You can either leave it like this, or even gently hang some live Spanish Moss as well like you see below.
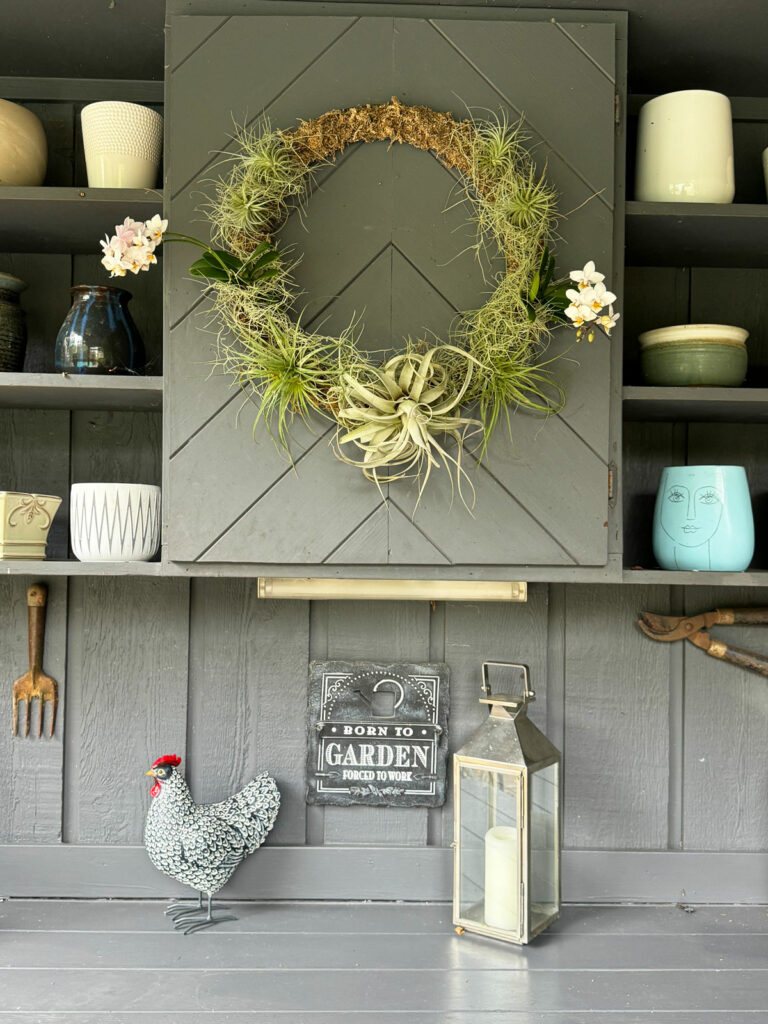
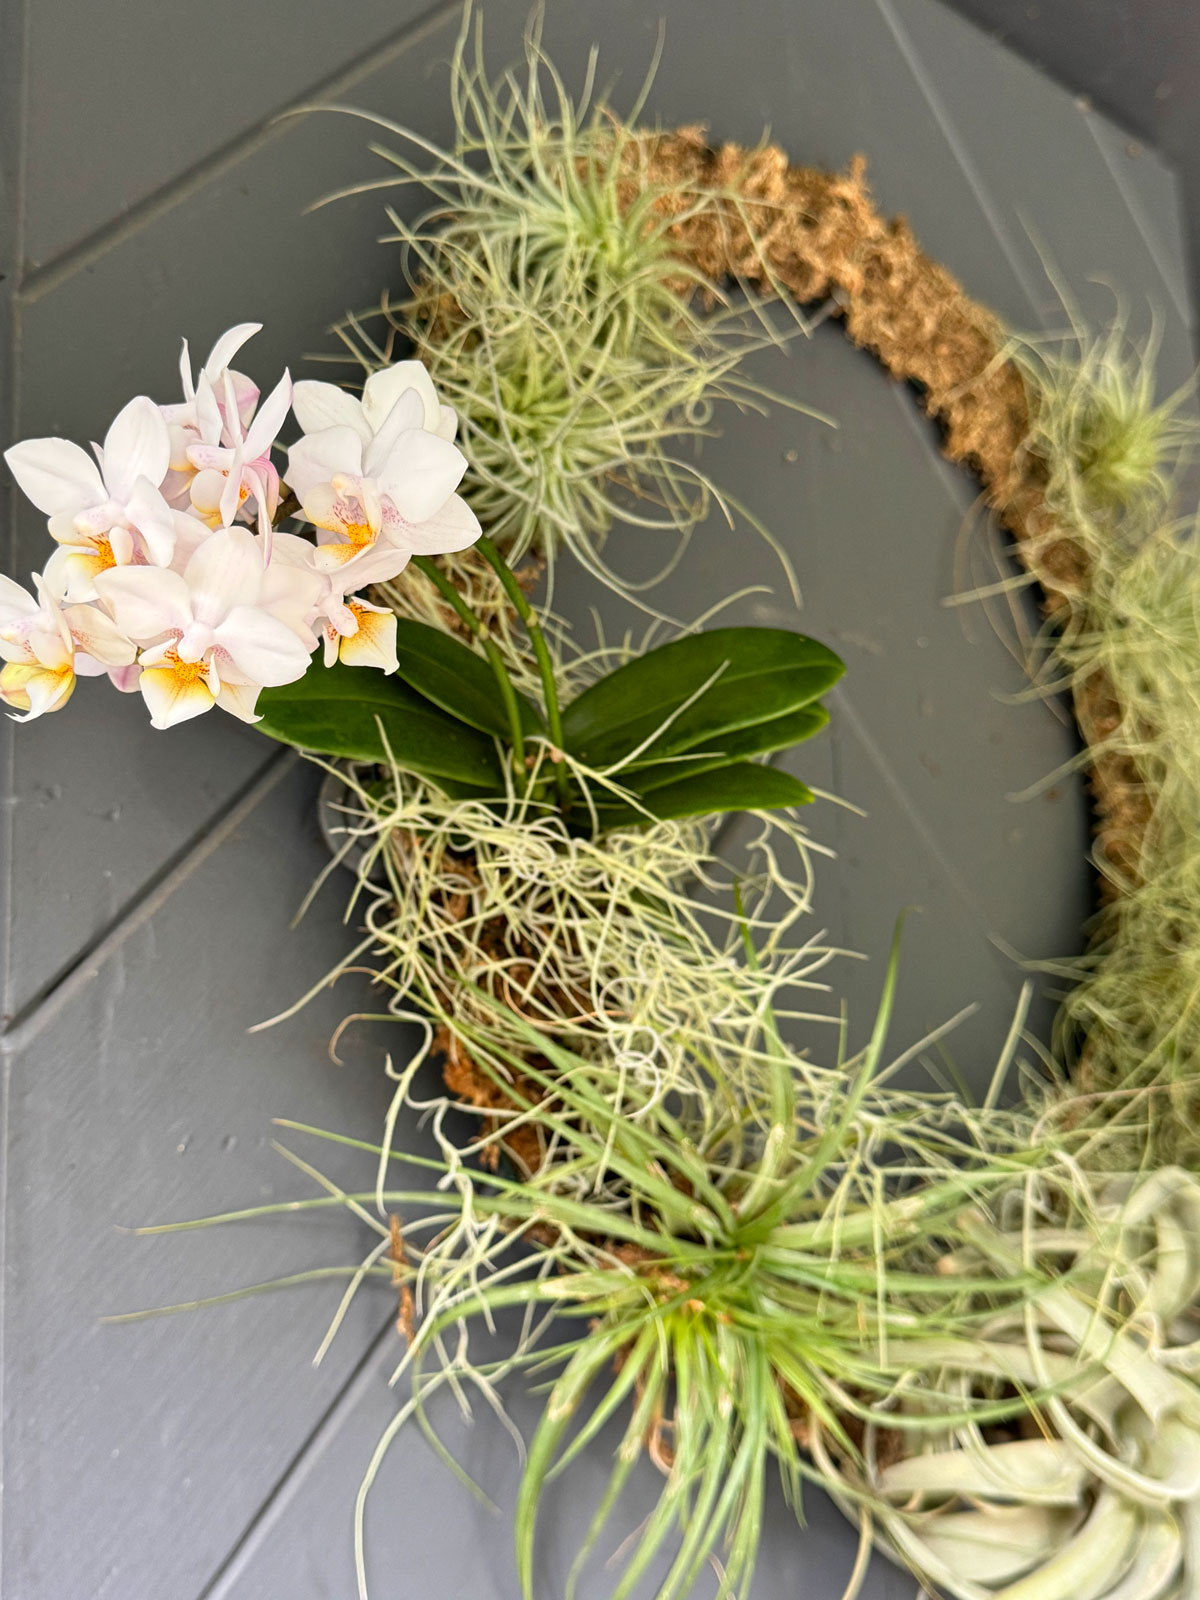
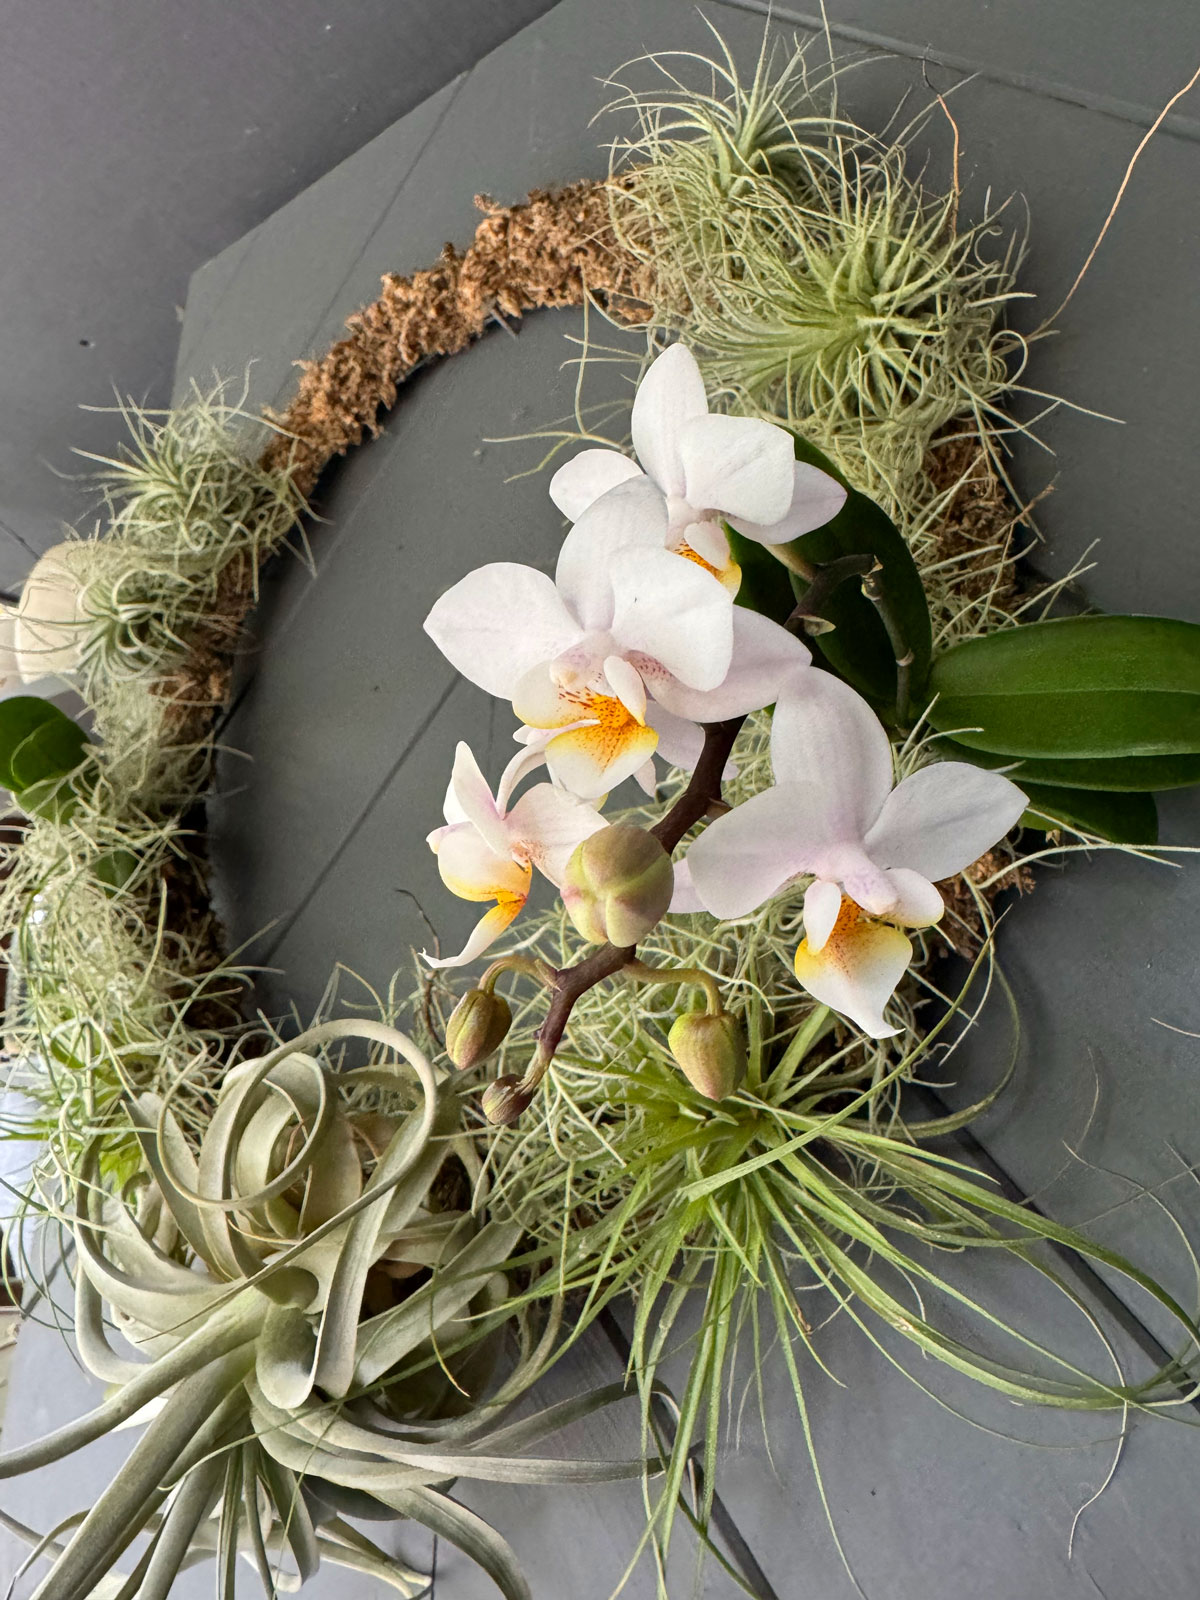
The sky is the limit! You can even use preserved moss, so get creative and have fun in the process! As far as where you can buy air plants, you can check your local nurseries, but I’ve purchased wonderful plants from Air Plant City.
In terms of care, I recommend misting your creation daily. For the orchids, gently spray the moss to soak the roots. Mounted orchids will need to be watered much more frequently than potted ones so keep this in mind.
For more information on air plant care, you may benefit from reading my post about how often to water air plants (I also talk about good light conditions in this post which is critical!)
I hope you’ve enjoyed this post. Please comment below if you’ve made a wreath and let me know how it went!
Trending Products


